Kajabi
Acodei automates the transfer of financial data from Kajabi to QuickBooks. Sales, refunds, fees, and payouts sync automatically to eliminate the need for manual data entry, saving time and ensuring accurate accounting.

Scope of the Integration
All transactions from the Kajabi-QuickBooks integration sync in real time. Our service covers the following aspects of Kajabi Payments data:
| Kajabi Action | Integration Action |
|---|---|
| Sale | Sales made in Kajabi are reflected in QuickBooks using Sales Receipts. |
| Refund | Refunds made in Kajabi are reflected in QuickBooks using Refund Receipts. |
| Payout | Depending on your settings, Kajabi payouts are synced into QuickBooks using Bank Deposits or Transfers. |
| Fee | Depending on your settings, Kajabi processing fees are recorded in QuickBooks using Sales Receipts or Expenses. |
| Tax | Kajabi remits tax on your behalf. Tax can be included with other Kajabi fees or as a standalone expense. |
In the Kajabi-QuickBooks app settings, you can customize customer data according to your preferences. You can import customer name, email, and billing details, choose some portion of that data, or sync a default customer name like Kajabi Customer. Customer names are synced to QuickBooks in the Display Name field and are matched by existing customer names.
Holding Accounts
By default, Acodei creates a holding account for you. This holding account tracks your Kajabi Payments Balance in QuickBooks. In the default setup, transfers (from holding to checking accounts) are created in QuickBooks to represent the payout. If you prefer a bank deposit containing all your sales and refunds, please change your holding account to an Undeposited Funds asset type.
Products and Accounts
Products in QuickBooks refer to a business's individual items or services. In the context of Kajabi, these are courses or other products a merchant sells. Account in QuickBooks refers to a financial account used in bookkeeping that is more general than a Product. For example, multiple products could feed into the “Sales” income account, which is represented on your Profit/Loss Statement.
During onboarding, you will be asked to select a general account, such as Sales, to accept revenue. Then, Acodei will automatically create a corresponding product. Later, you can see the products and accounts on the account configuration page. You can also manually create a product in QuickBooks and map it to an account for Sales, Refunds, or Fees.
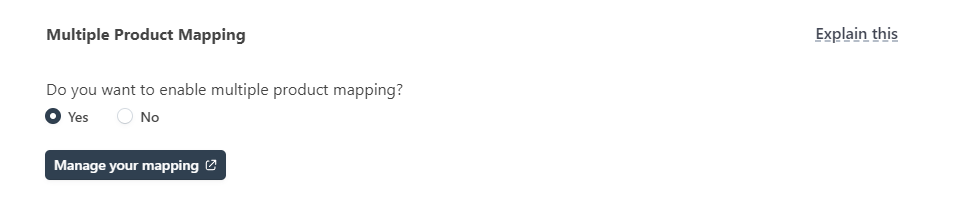
Multiple Product Mapping
To map multiple Kajabi products to different accounts in QuickBooks, you need to be on a paid account, then visit the Multiple Product Mapping section within your Kajabi QuickBooks integration:
Once inside the mapping module, you need to pull the Kajabi Offer ID from the URL of the associated course. For example, this course contains two offers that typically have different prices:

One of those offers is https://app.kajabi.com/admin/offers/2148964595/edit. On your mapping page in Acodei, use 2148964595 as the offer ID. The offer name does not matter for mapping purposes but is strictly used as a reference point. Upon initial app connection, Acodei automatically pulls in offer IDs and names for your most recent 10 transactions.
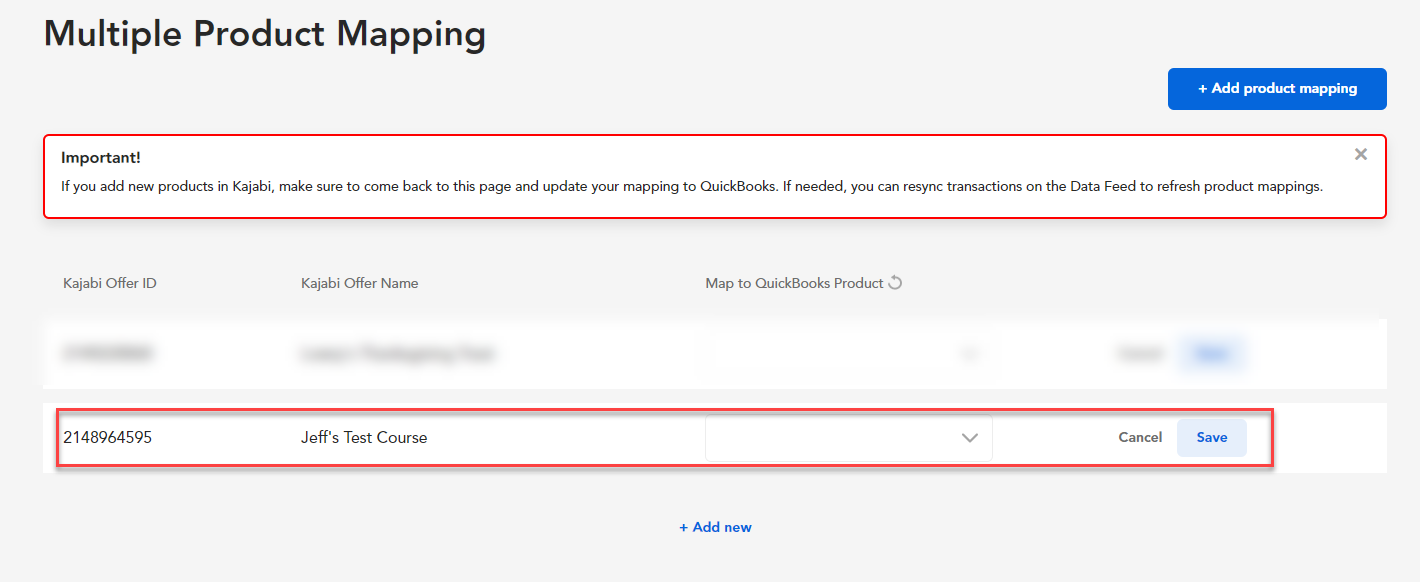
You will also need to ensure that the corresponding QuickBooks products exist and are mapped to the account of your choice from your Chart of Accounts. From there, you can save and resync any historical transactions, and you should see the correct mapping.
Invoice Syncing: Since Kajabi does not utilize or necessitate invoices, there is no requirement to monitor invoices and payments. Instead, all sales are recorded using sales receipts.
If you have questions about the Kajabi-QuickBooks integration or need specialized support, please contact us directly at support@acodei.com.